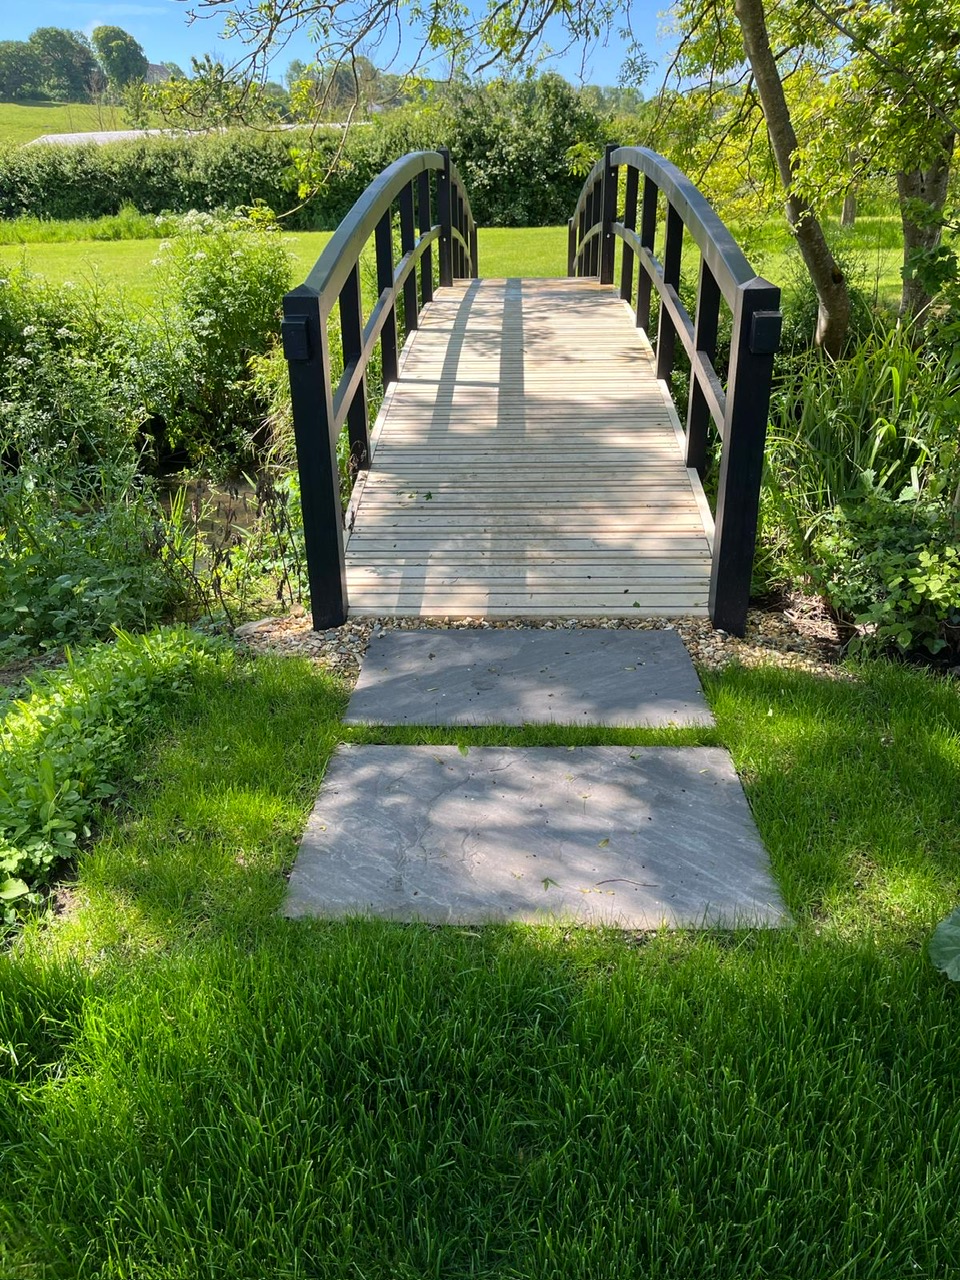
Bridge Installation Details

Fully Bespoke
Crafting bridges down to the finest detail.

Tradition, Trust & Expertise
Family business with decades of experience.

Excellence at Every Step
Quality Assured from Concept to Completion.
Bridge Installation instructions and foundation details
Please find our installation instructions and foundation details below.
Download Small Bridge Foundations
Download Installation Instructions
Foundation details are attached. These are for 20’,30’ and 40’ bridges. Intermediate lengths can be deduced.
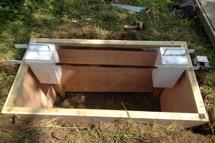
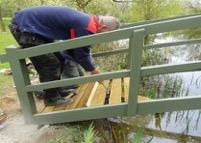
1. For shorter bridges it is suggested that two trenches are dug across the line of the bridge at the correct spacing to take the bridge end posts. The depth of these trenches should be a minimum of 24 inches (600mm). The length across the trench should exceed the bridge width by at least 6 inches (150mm) on each side.

2. It is suggested that 1 foot (300mm) square pockets are cast in the concrete bases to accommodate the bridge legs. These pockets should be positioned to suit the length and width of the bridge.
3. Sufficient concrete should be placed to ensure that the bridge ends do not move.
NOTE: The integrity of any arch is dependent on the rigidity of the end posts.
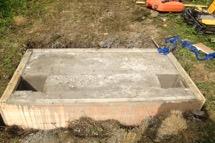
4. When the concrete has set the bridge legs can be places in the pockets.
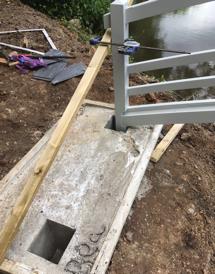
5. The bridge should now be adjusted to ensure that the posts are vertical and at the correct spacing to take the decking.

6. A piece of decking is used at each end to ensure the distance between the posts is correct and that the angle between bridge arch and deck is 90 degrees.
NOTE: The whole bridge should be a perfect rectangle.
7. Before grouting the legs in with concrete it is suggested that the posts are held in their correct position with battens clamped to the posts. When the grout has set the bracing can be removed.
NOTE: If clamps are not available the battens can be fixed using small nails and any holes made good at the end of construction.

8. For bridges of 15 feet and over sway bracing is provided. This fits under the decking in a “W” pattern.

9. For bridges over 20 feet the bracing can be crossed at the centre joint and spaced evenly on either side.
10. Now fit the decking boards using 4 screws per board. An electric driver is essential. Start at each end using the spacer provided. This will ensure a 1/2inch gap. It will be necessary to adjust the spacing of a few boards at the centre of the bridge. Where sway bracing is fitted screw the deck boards to the sway bracing.
11. Bridges over 20 feet come as four panels, two for each side. These join in the middle with dowels and bolts. The inner face of each section is coded either by a coloured dot or a number. Ensure these colours or numbers face each other. If the dowels do not line up they are not a pair.
NOTE: DO NOT RE-DRILL THE DOWELS!
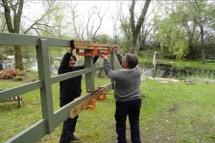
12. When finally erected this joint is properly loaded and is very strong. However, during construction great care must be taken to avoid any sideways or vertical stress on this joint. Clamp a couple of pieces of decking across the joints as soon as the sections are bolted together. These can be removed when the decking is being fitted.
If in doubt, please get in touch for advice.
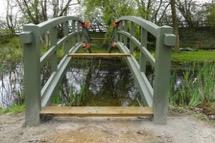
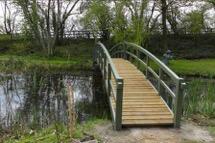
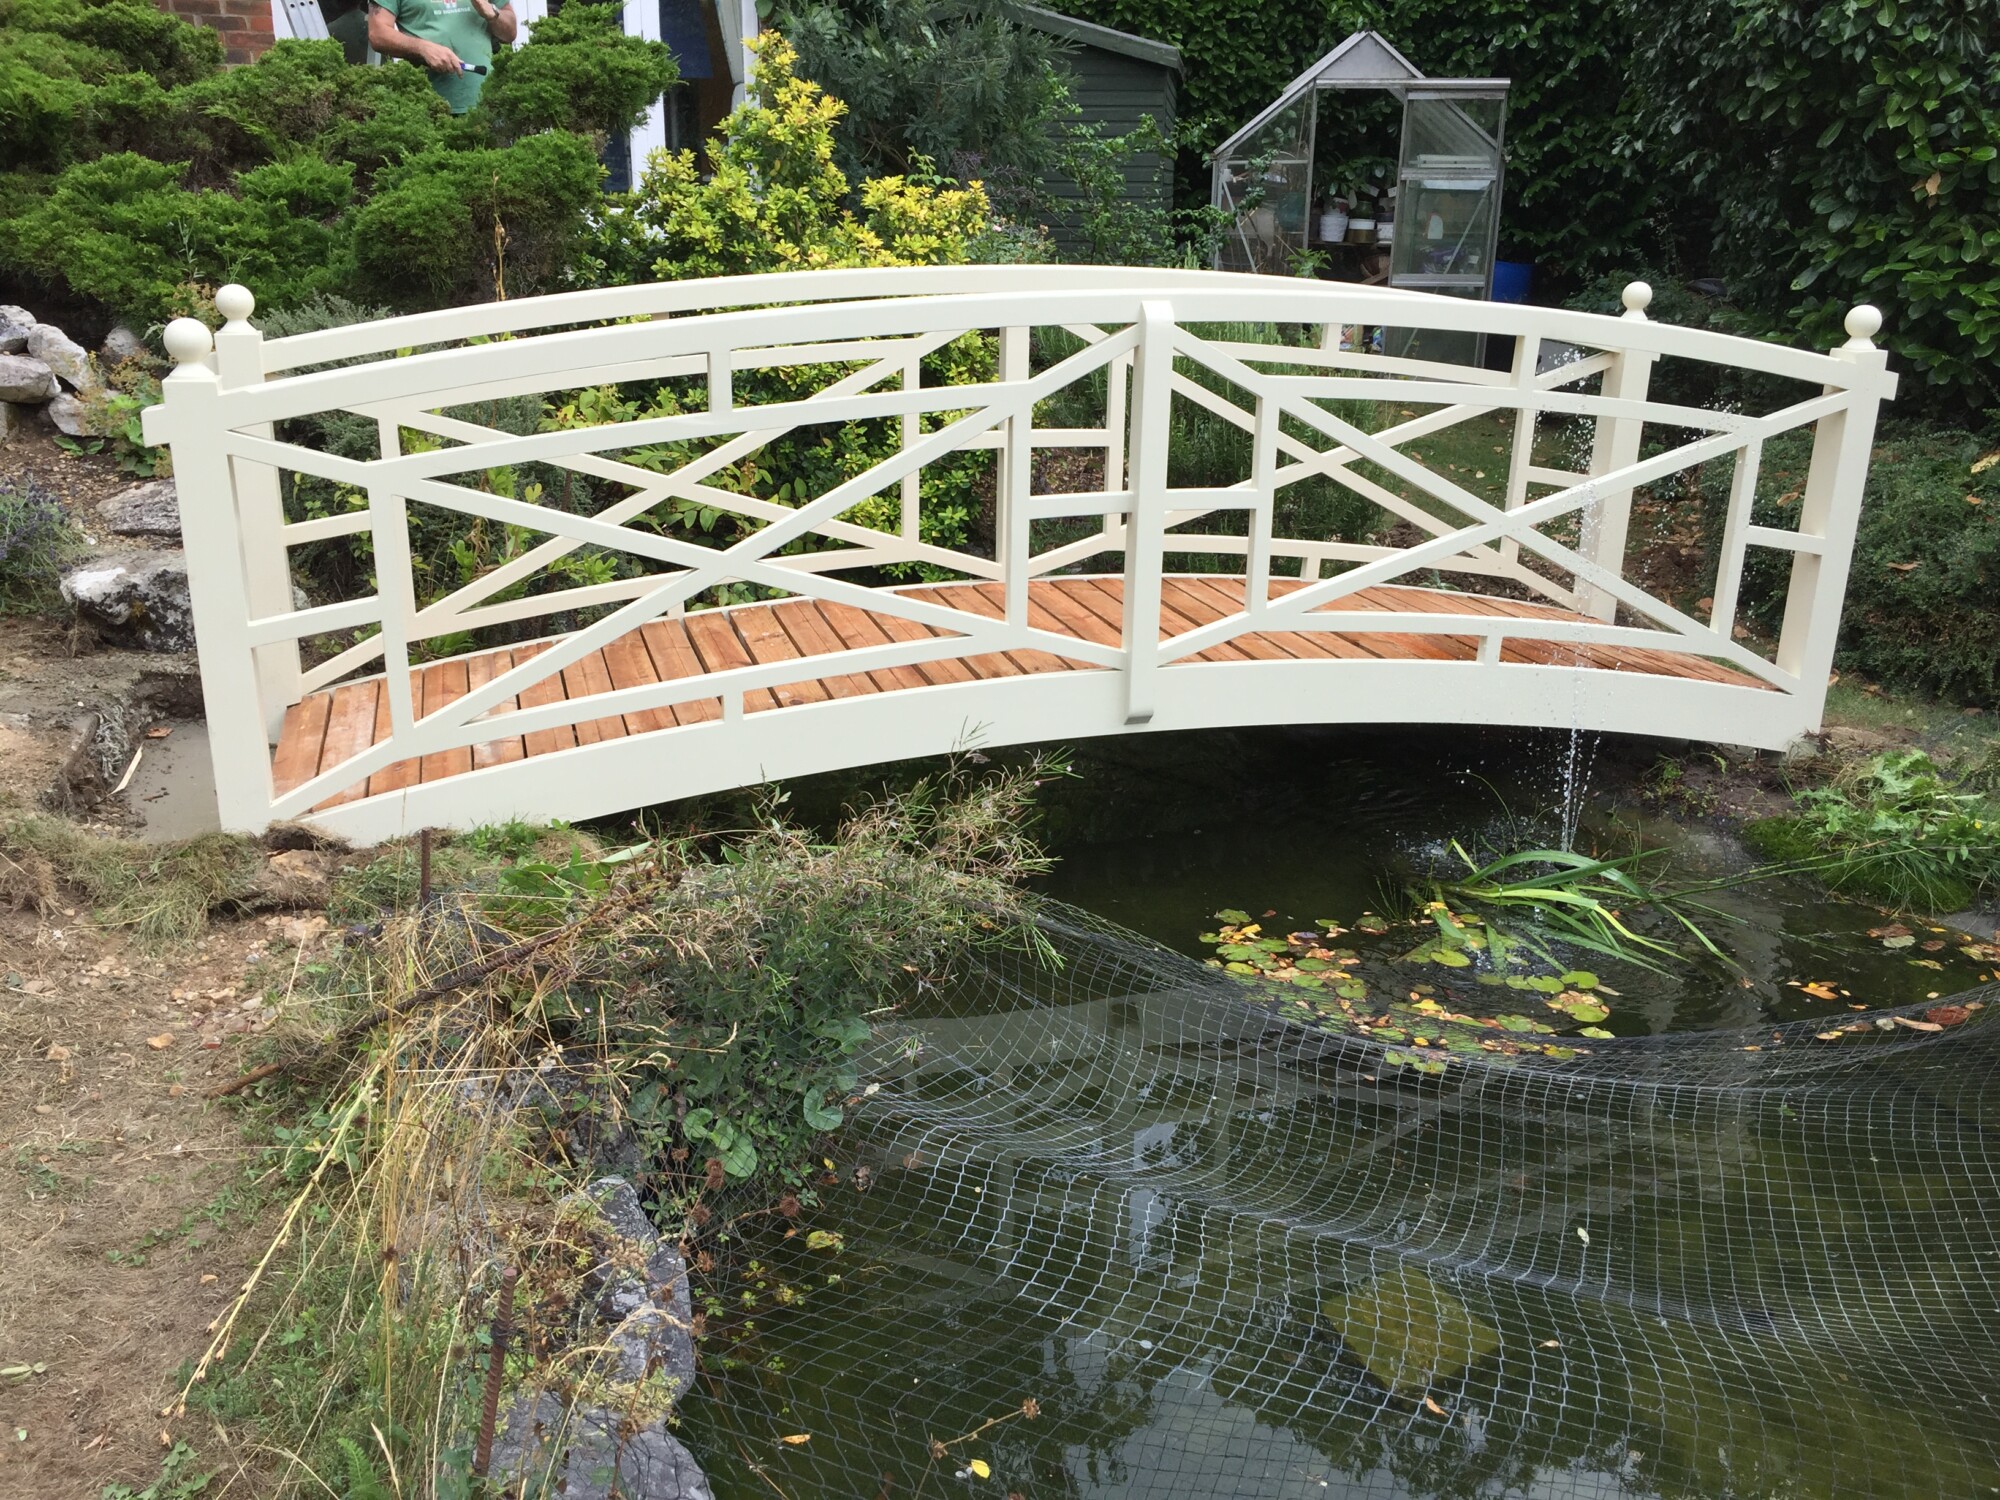
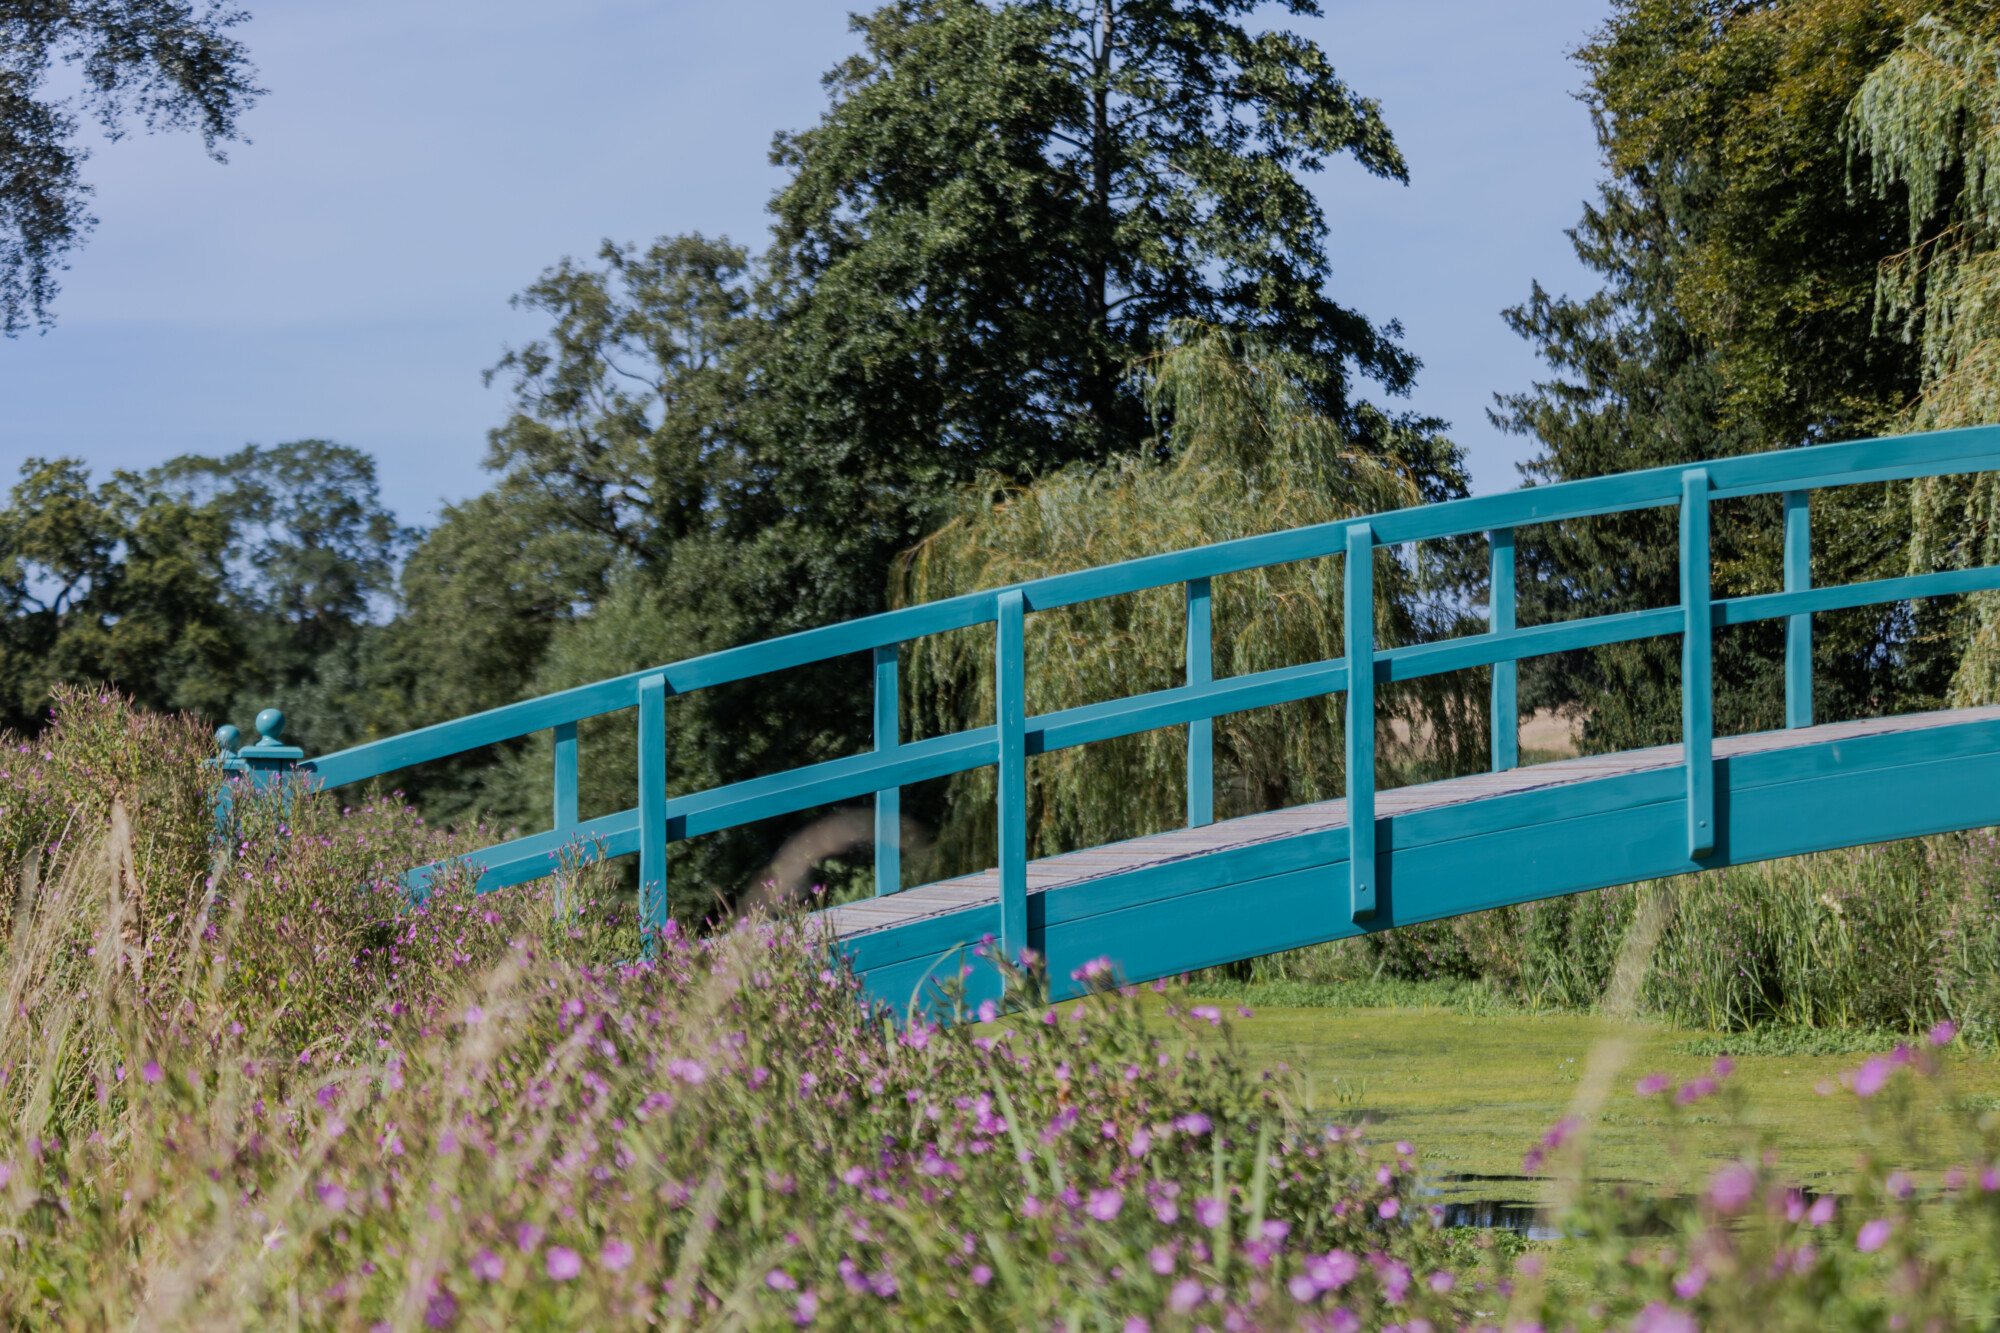
Gallery
Showcasing our bespoke garden bridges

Related Links